During spring and the Easter holiday, Bible teachers typically introduce or review Jesus’ death, burial and resurrection in Bible class. While this lesson speaks to my heart and helps me to understand all that Jesus has done for us, I sometimes struggle with teaching this topic to children. Using this Jesus Resurrection craft along with a planned out bible lesson helped me to reach preschool learners as with this story.
A Challenging Lesson
We are trying to help our learners create a relationship with their Lord and Savior. We want them to know the love He has for them and that He is always there for them. But then we have to share the story of His death. Yes, he comes back and our salvation is granted through Him, but this concept is so hard for young minds to grasp.
While the cruelty of Jesus’ death is something I save for later years, I try to focus on Jesus’ resurrection during these young preschool years. The triumphant return of our Lord is another way of showing learners that even through death, Jesus is always there for them.
Coming Into Bible Class
We start class the same way every week. Little ones love routine and structure and this provided just that. The first 8-10 minutes of class the children come in and play with toys that are laid out on the table.
During this time we focus on how God wants us to treat our friends. It also gives us time to talk to the little ones about their day, welcome visitors and finish up prepping any materials. Let’s be real…sometimes prep doesn’t go as planned.
 Bible Basics
After a few minutes of playtime, we meet on the carpet to sing praises and talk about our bibles. Before we introduce our lesson, we open our class prayer together by having a circle prayer. This gives everyone a chance to talk to God and for us to model prayer for our little ones.
Resurrection Lesson – Part 1
This Bible lesson is broken into two parts, Jesus’ death and Jesus’ resurrection. We begin by learning about Jesus’ arrest and death. I always watch my little ones carefully during this time to see how they are processing this information.
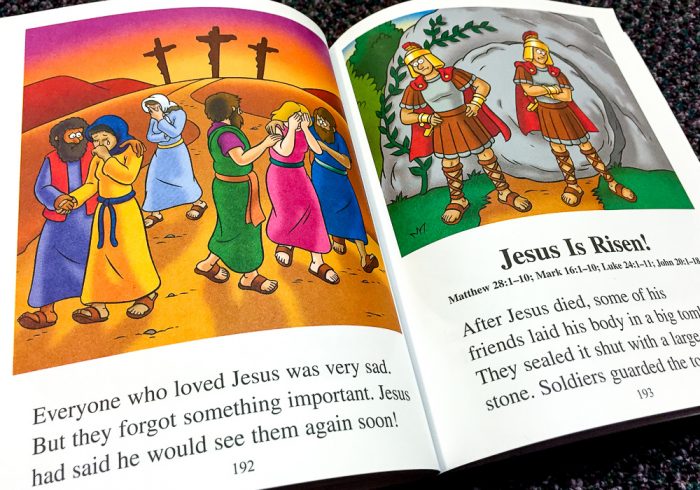
After reading our first story about Jesus’ arrest and death in the The Beginner’s Bible, we talk about how some people did not like Jesus and that everyone who loved Jesus, like we do, was so sad.
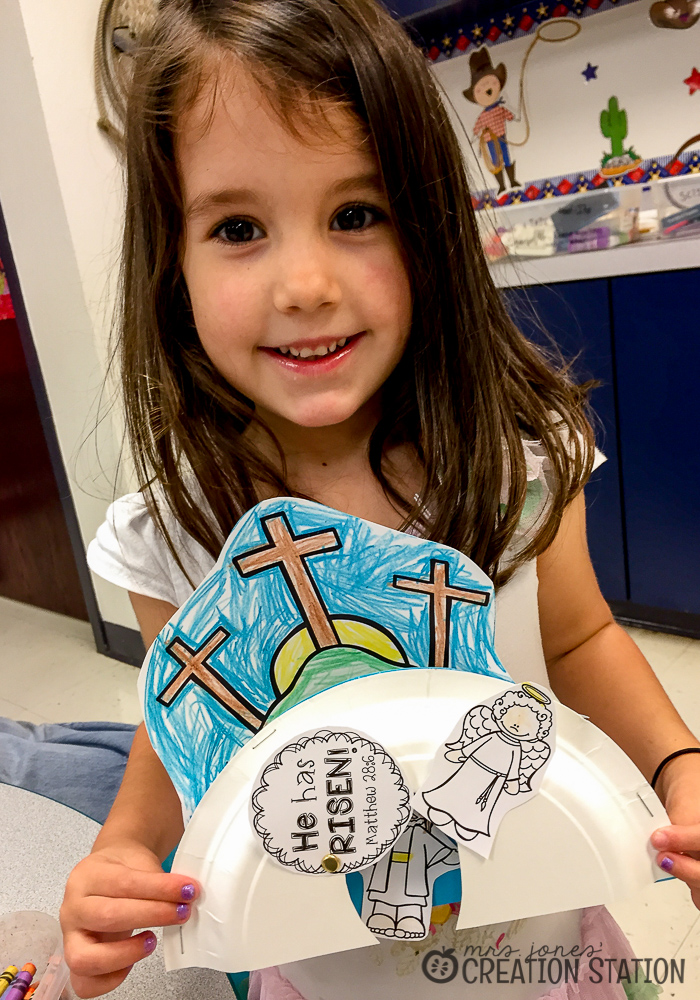
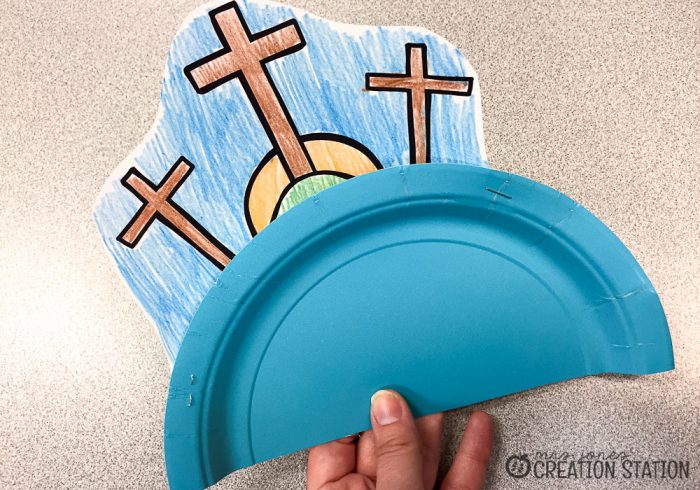
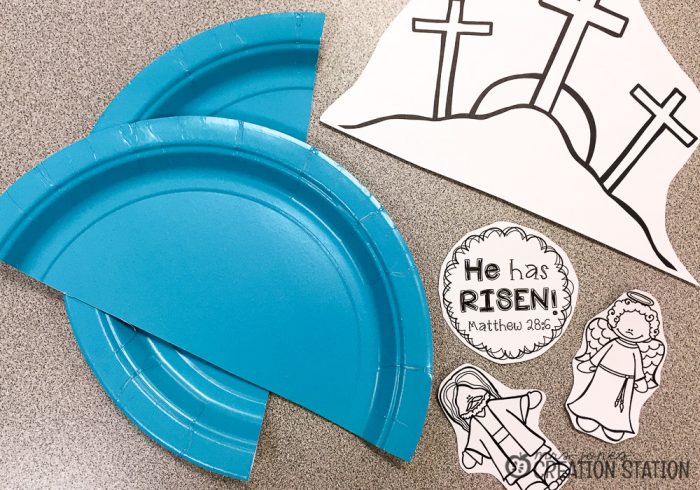
The children then went to a table to color the 3 crosses for our craft. We continued to talk about how God sent Jesus to die on the cross because he loves us so very much. As the children finished coloring, I stapled the crosses to the top of one of the halves of the paper plate.
Resurrection Lesson – Part 2
Then, we read the second story of our class time which was Jesus’ resurrection in the The Beginner’s Bible. We talked about how God and Jesus knew all along that this was the plan and how we are thankful everyday that Jesus died and rose again!
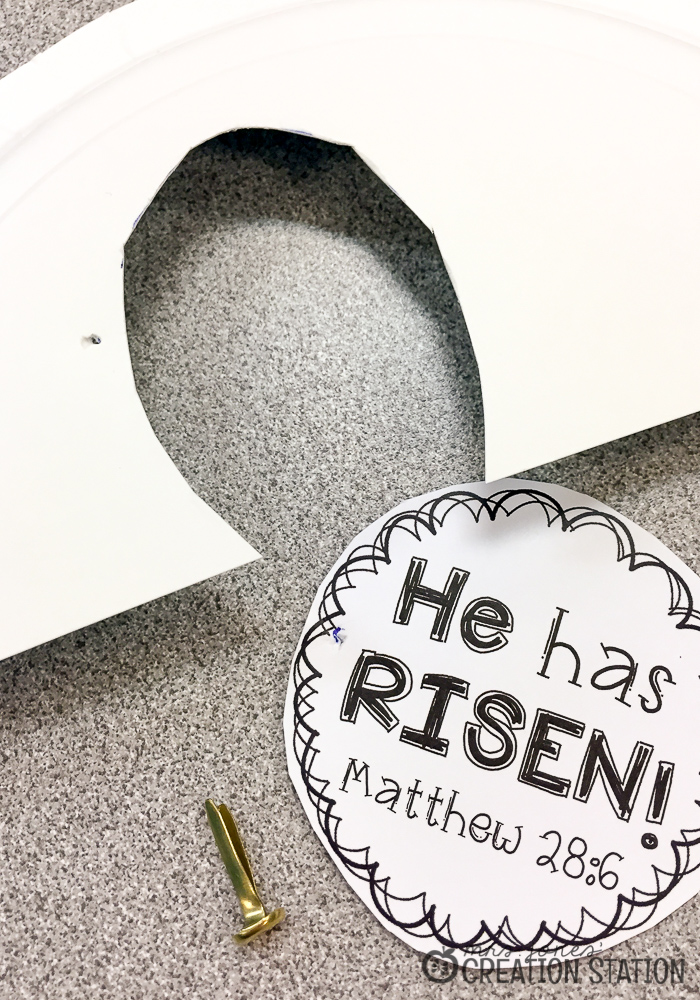
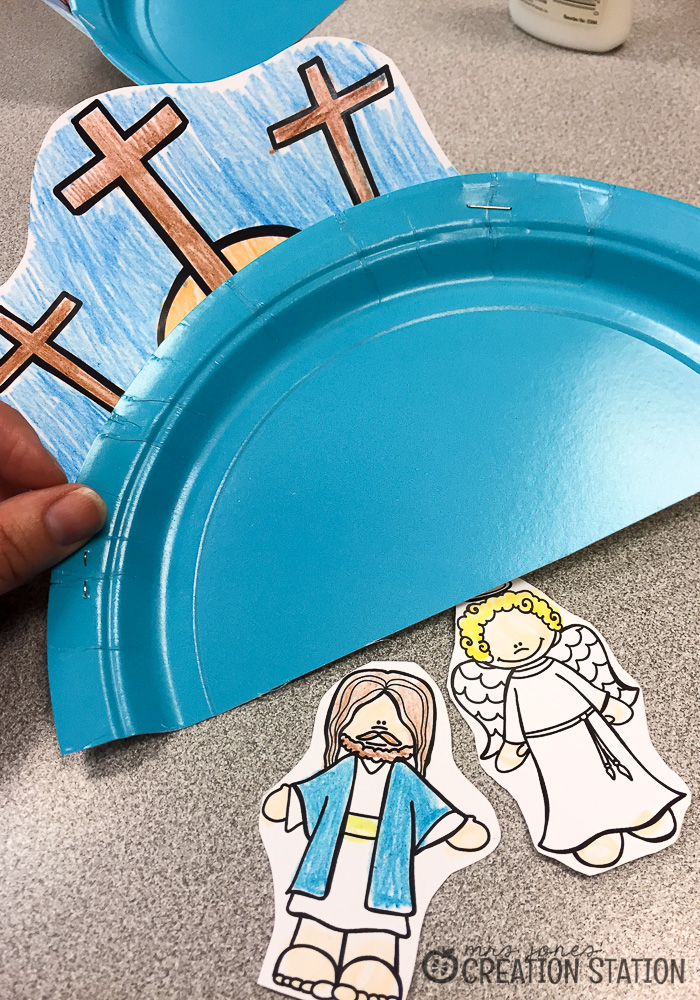
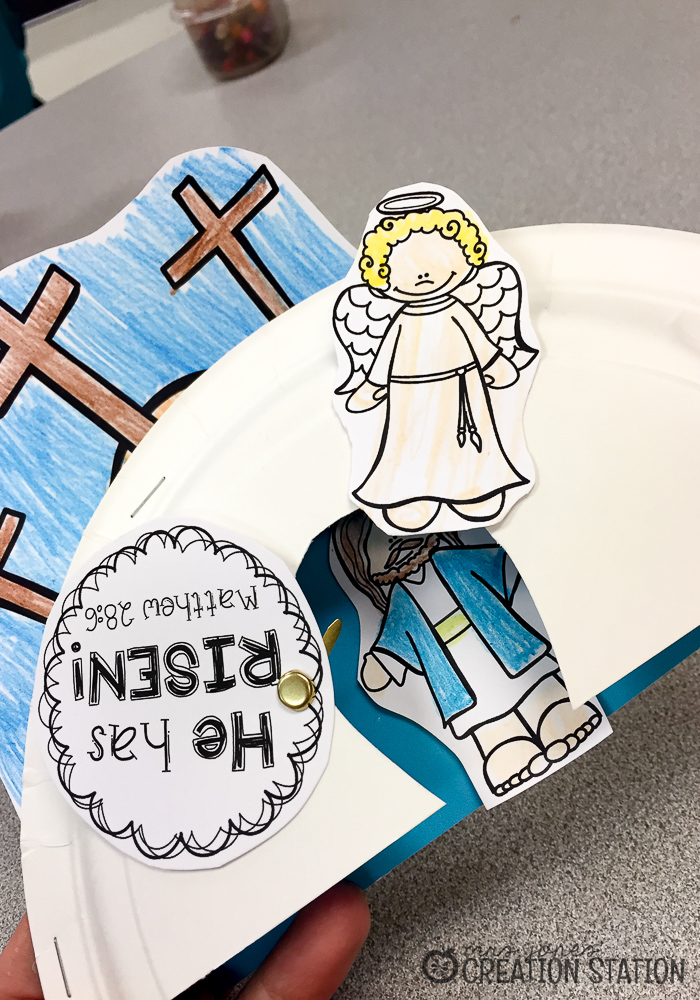
The children then went to a table to color the angel and Jesus. We put together the rest of the craft by gluing the angel to on top of the tomb and Jesus alive on the inside. You can grab the printables we used for this craft by clicking the MJCS download image at the bottom of this post.
How to Create the Paper Plate Craft
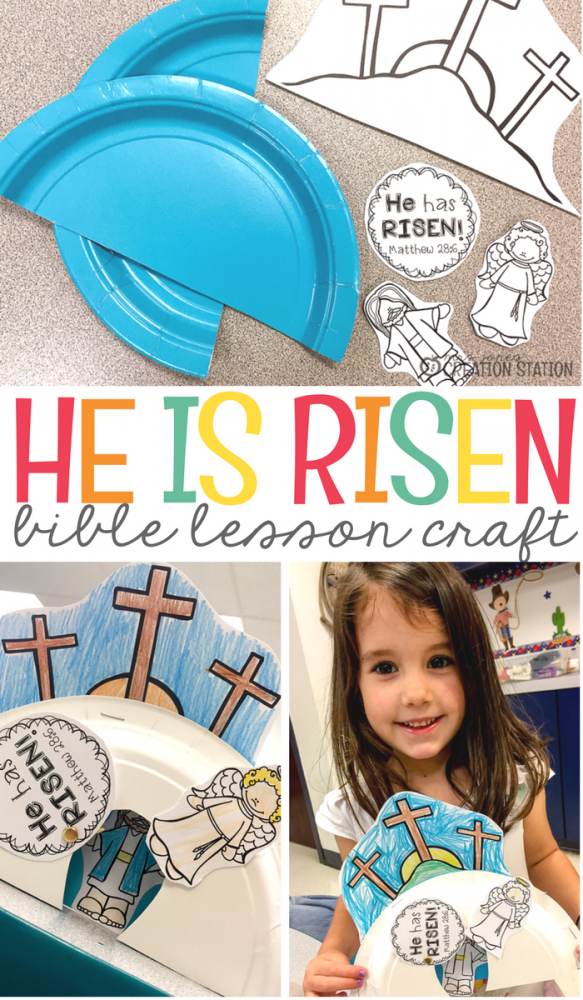
To create this craft follow the steps below. Try to have learners do as much of the craft as they can on their own.
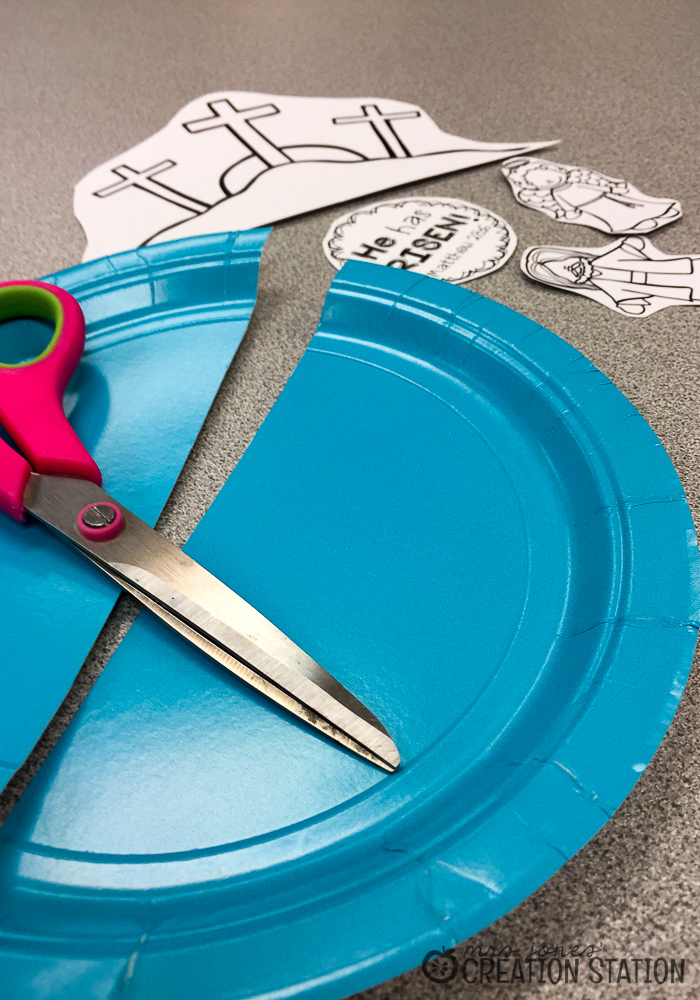
- Cut a paper plate in half
- Cut out the printable (crosses, angel, Jesus, stone)
- Color the crosses
- Staple crosses onto the top of one half of the paper plate
- Color the angel, Jesus and stone
- Cut an opening on the other half of the paper plate
- Use a brad to attach the stone onto the plate to create a door
- Glue the angel above the stone
- Place Jesus instead the tomb alive or use a popsicle stick to push through the top of the plate
