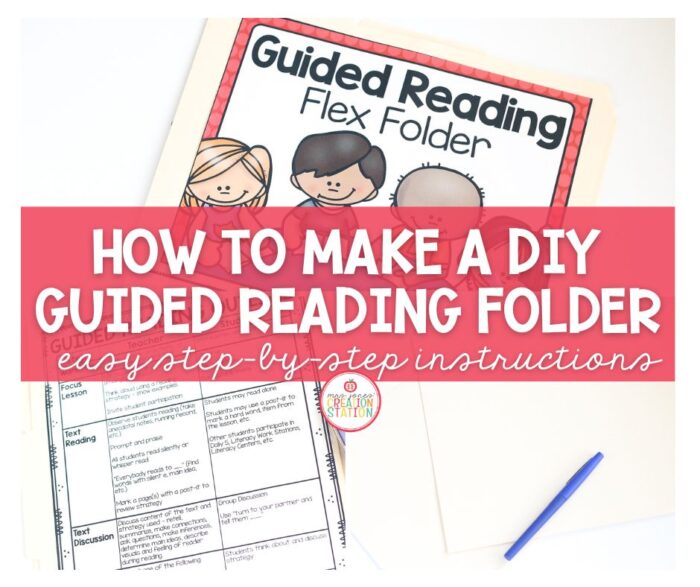
Teachers have binders for everything. We have binders for student information, substitutes, and documentation. The last thing I want on my table while teaching in small groups is a bulky binder. For years I’ve used this DIY guided reading documentation folder. It’s so easy to make, and it saves so much space at your teacher table.
SIMPLE SUPPLIES
If you’re a teacher, you have these supplies at this very minute in your classroom:
- Two file folders
- scissors
- marker
Yes..that’s it! No tape or stapler. I highly recommend laminating your folders before you start to guarantee it lasts the entire school year…maybe even longer!
STEP ONE:
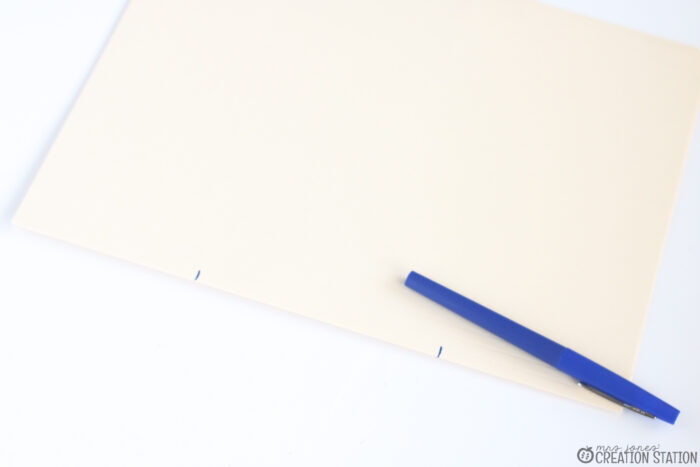
It doesn’t matter how you line up the tabs on the file folders. You won’t need them! Sometimes I trim them off to make it more like a folder. It’s whatever you prefer!
Stack the two folders together and make two marks that run to the second line at the bottom the folder. Cutting the top line will make the book floppy and it won’t work as well!
STEP TWO:
With both folders in hand, cut on both lines that are marked and stop on the second line. Separate the two folders now that the starting cuts have been made. Take one folder and cut out the middle section from line to line.
Take the other folder and cut off both ends from cut to end of folder.
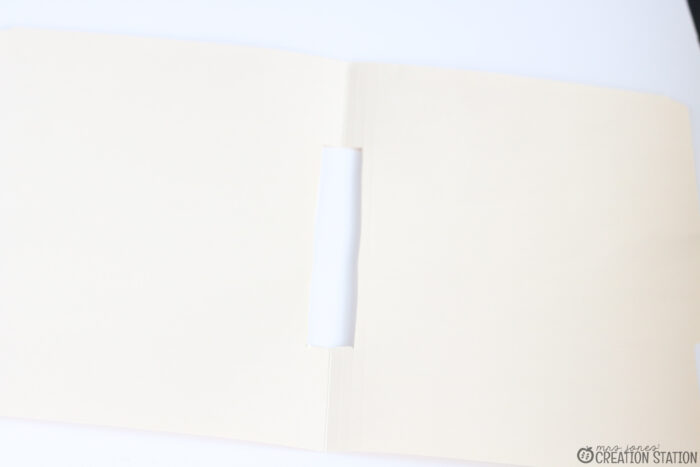
STEP THREE:
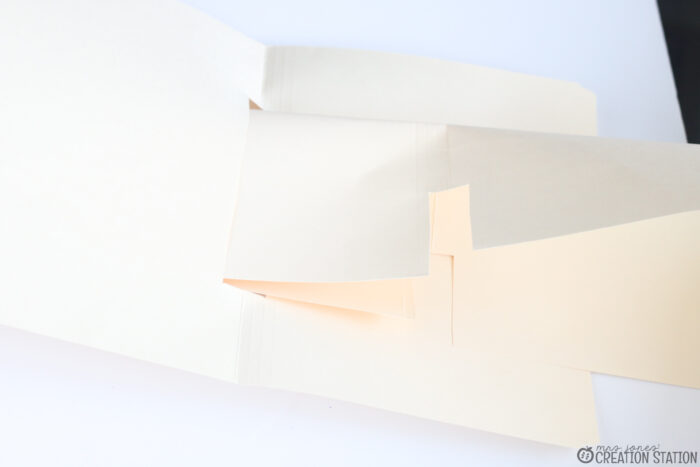
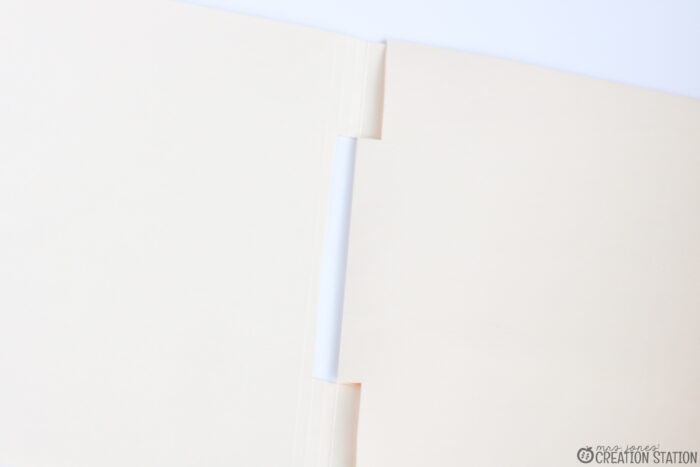
Take the folder that has been cut on the ends and fold it in half. Run the folder through the second folder with the middle opening. Once on half is through the middle opening, flatten the folded folder straight. This will create a six page folder! This is the perfect guided reading documentation folder that will save you so much space and also keep all your notes in one place!
STEP FOUR:
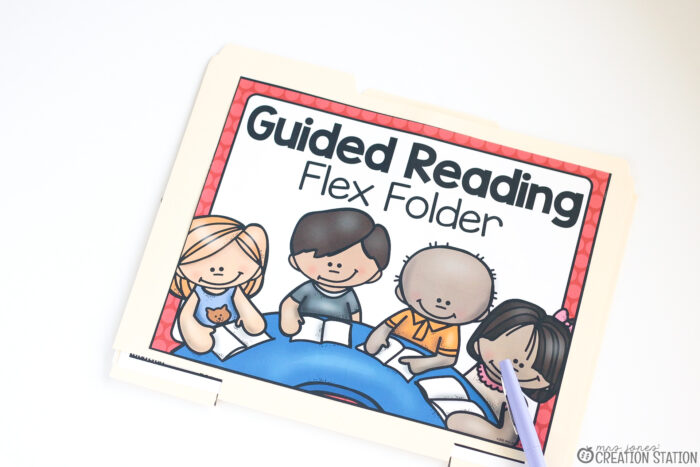
You can use my printables and documents from my Guided Reading Resource pack to fill this folder with everything you need for a successful small group!
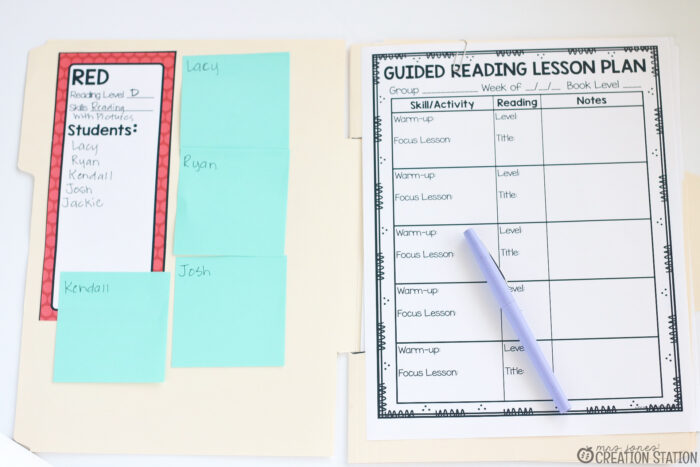
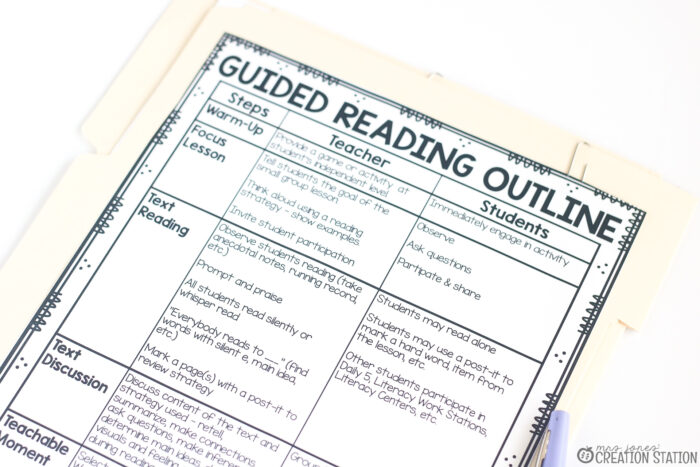
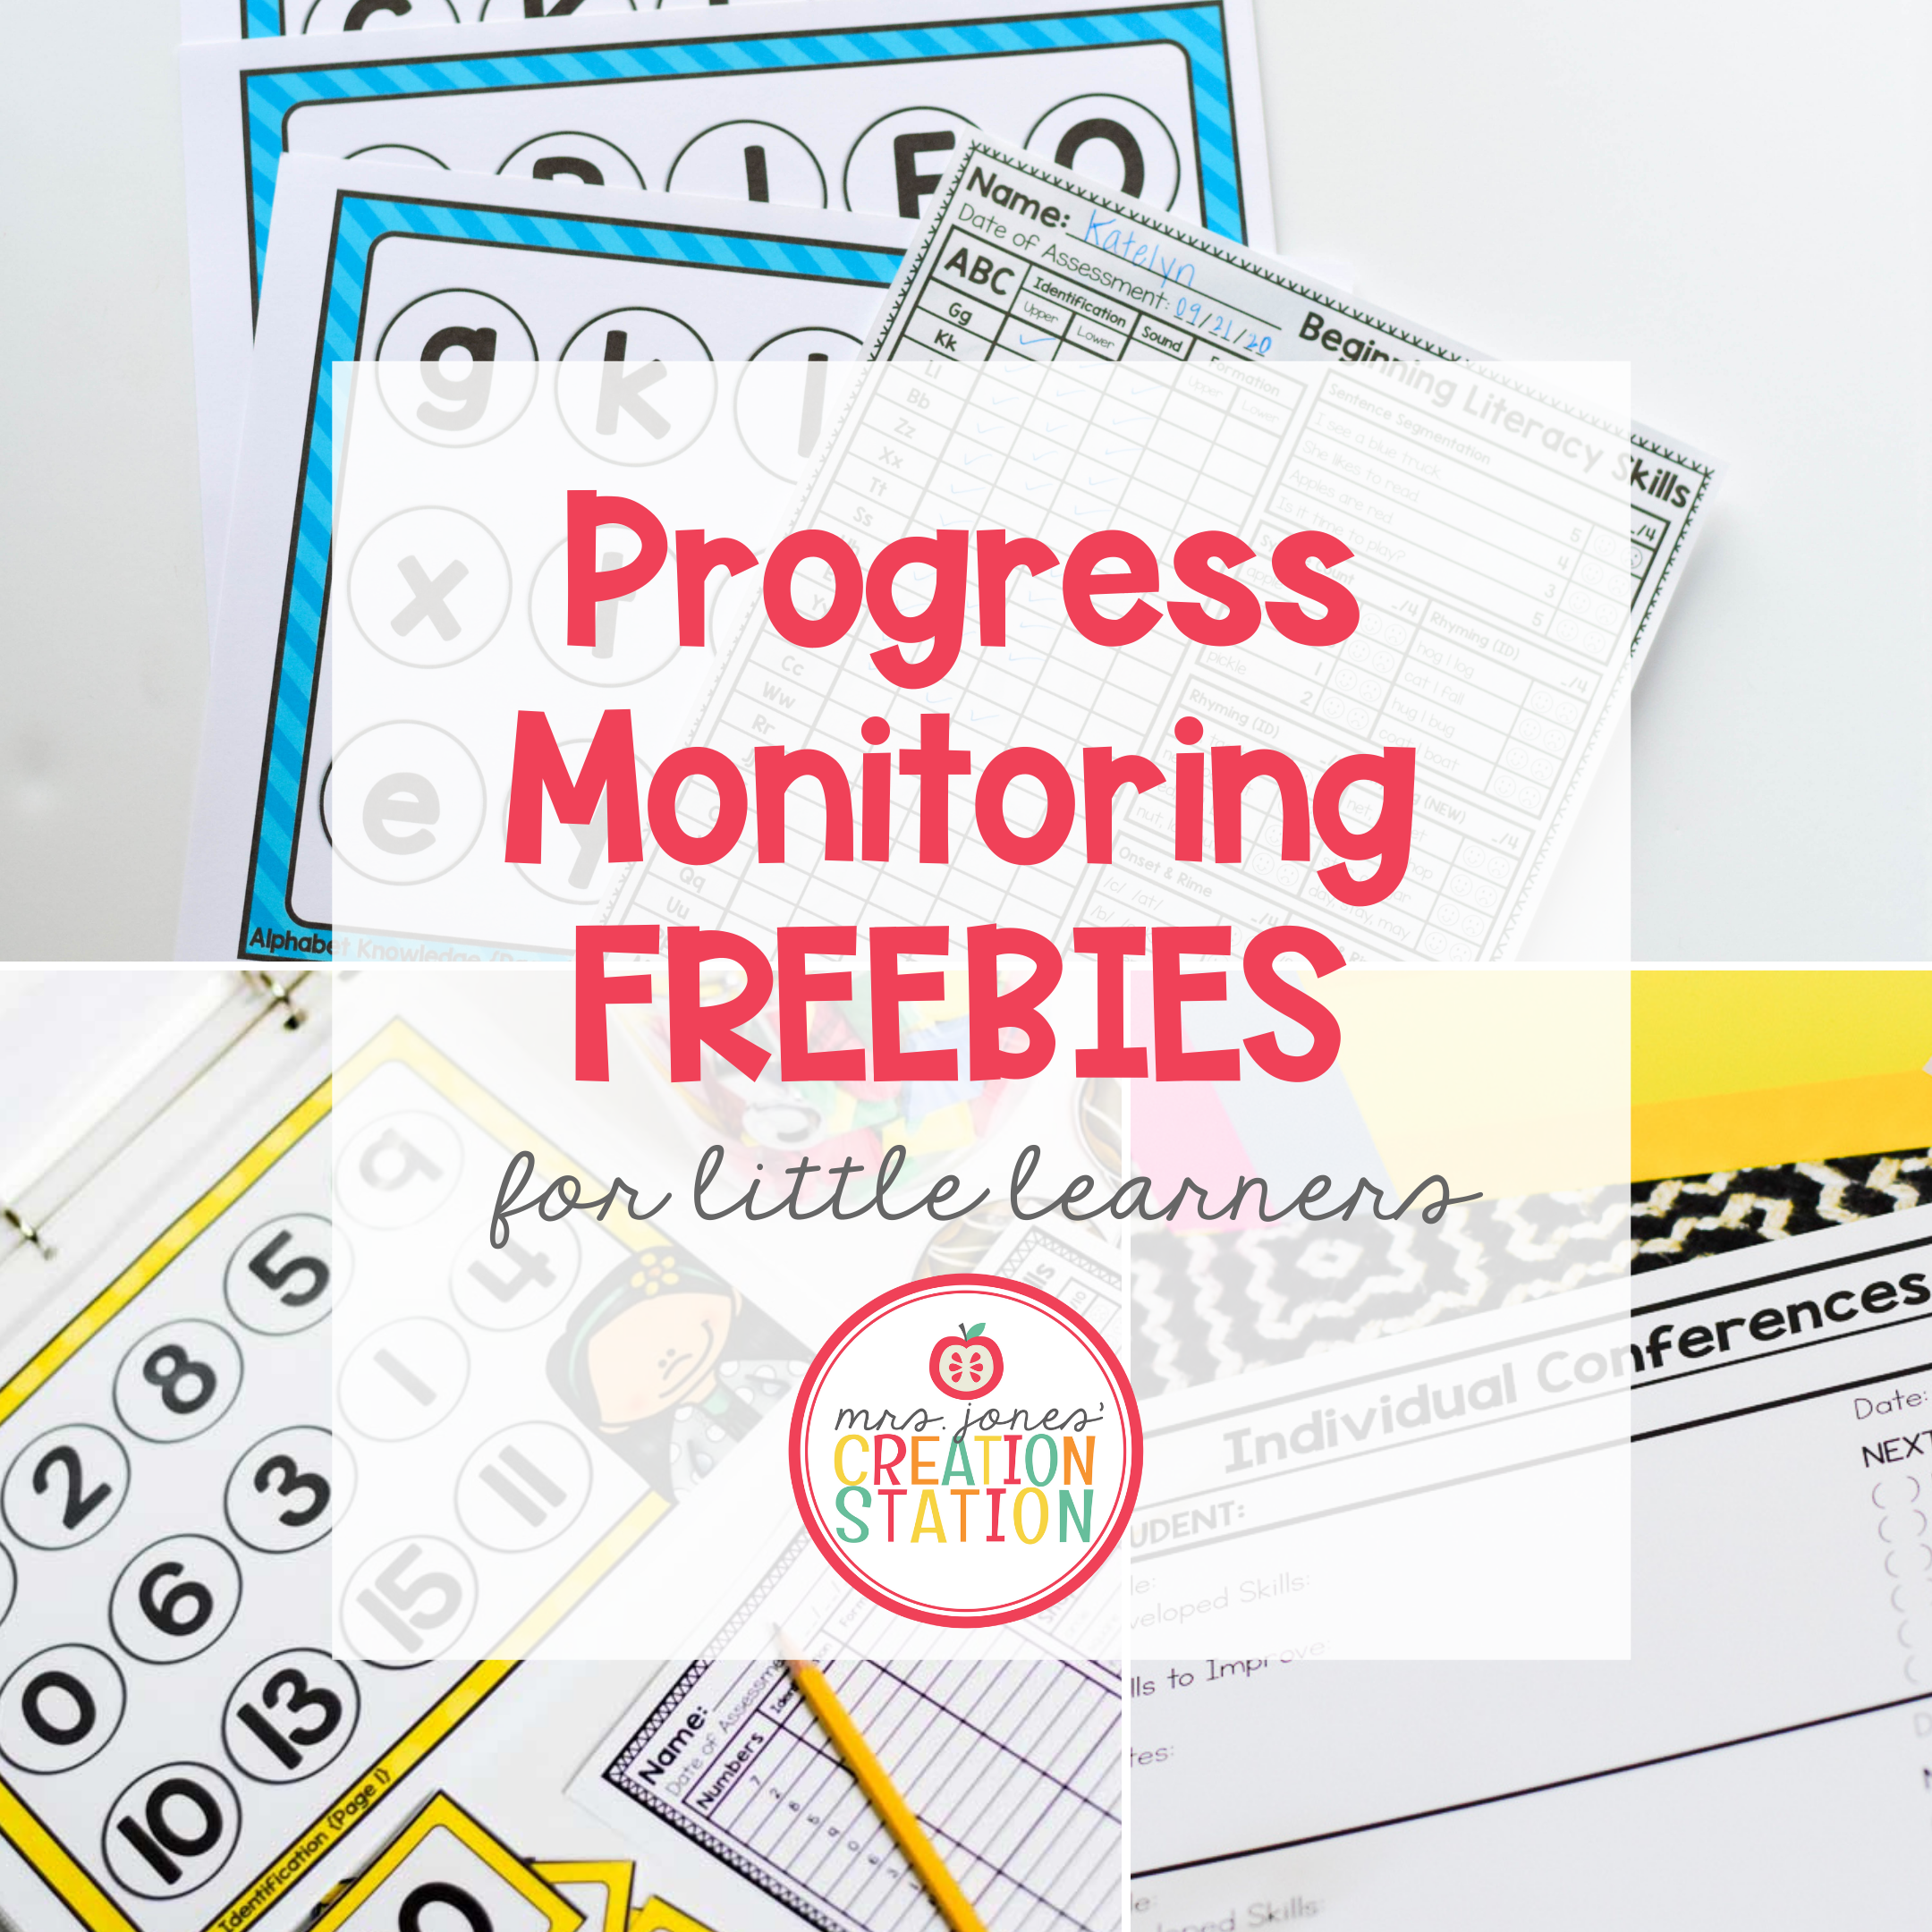
But I’ll get you started! In order to create your groups, you need a quick assessment! Click the link below to grab my FREE literacy assessment!
